I have really enjoyed the Gift bag punch board so far and have decided that I will share this cute idea for giving away seeds from your garden, or giving a gardening gift card , or just giving anything cos its so cute, So here it is , my pail and its going to be this months Hostess gift, and the winners of this weeks Beginners class tips challenge See here for challenge details will receive one too.
 |
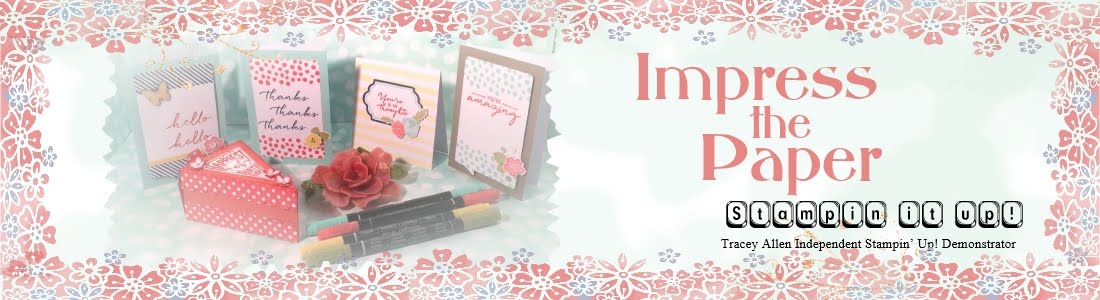
| Timeless Elegance paper and the gift bag punch board Pail |
and here is the handle detail
So we will start with the instructions to make this cute pail with the Gift Bag Punch Board. Instructions written so a complete novice can make this, so they look a little long. But they take no time to make,
All supplies listed below instructions
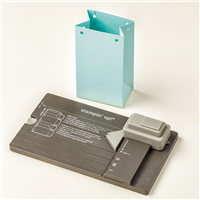
Gift Bag Punch Board Timeless Elegance Pail Tutorial
Cardstock and Paper
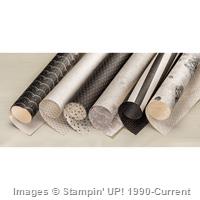
4 1/2 by 10 1/4 inch piece of Timeless Elegance DSP
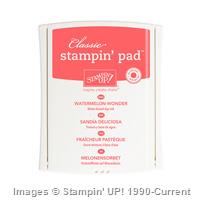
Watermelon Wonder cardstock
1/2 by 10 1/4 inch strip
1/4 inch by 8 1.2 strip
2 x 1 3/4 circles .
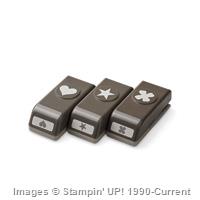
2 x small hearts ( Itty Bitty accents punch)
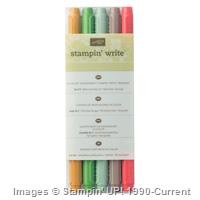
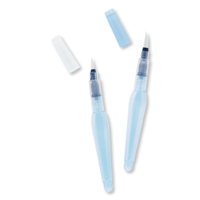
1 If using Ink pads Give the Water colour pad a squeeze before opening, then you will see ink in the lid squeeze a little water just next to it and then mix some of the ink into the water. or if using the markers scribble some ink onto an acrylic block then treat the same as using the pad), Take your Timless DSP give the roses a light wash all over, then add extra colour where the roses are darker, Colour until you are happy.,
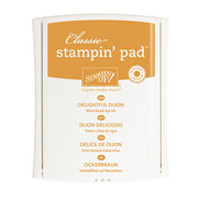
2 Colour the smaller flowers with Delightful dijon mixing in a little Watermelon Wonder for flower centers and the leaves with Cucumber crush (only do a light wash on the leaves,) Leave to dry for about 5 mins
3 Take the Gift bag punch board and along the long side of your paper line up the edge with the white line and punch, Then line edge up with the left edge of the punch and punch.
4 Then line up the edge of the punch with the center of the dip created by punching, repeat this until you have 12 points. Cut off any excess level with the point not the dip (if you don[t get it spot on center with your punch it can be a little different so I have given some room in measurements for this).
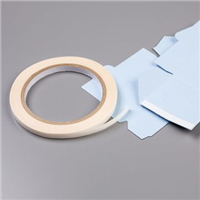
5 Place tape along one inside edge (not roses side) of the paper and then place tape on the outside of the other side from the middle of the 1st point to the top ( in a straight line) remove tape backing. Line up the points with one another and once you have them perfectly aligned adhere the points together, go to top and make sure top edge is straight, once it is adhere, then run fingers along seam.
6 Place tape along 1/2 inch strip and then place around top edge , starting just over the seam, When you get back to the seam, trim level with seam.
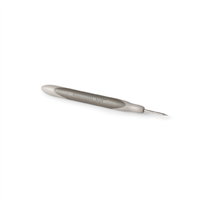
7 Gently bend points towards the center, when all leaning in turn over and gently press down , points will find their own position. Either with tape of glue (whatever you are happiest) with cover one side of one of the circles with adhesive. Place this inside the pail in the center whilst gently holding pail flat against work surface, press circle down with handle end of piercing tool.
8 Turn pail over, some of the points may still be loose, Cover second circle with adhesive and adher to the bottom in the center.
9 Take the 1/4 inch strip of cardstock and adhere a heart centered on each end with the card coming as far down the heart as possible without showing on the other side. I used two way glue pen for this, With piercing tool on piercing mat piece a hole in center of each heart.
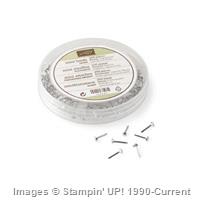
10 With seam at back gently pinch pail from the seam and the front, this will help you see where to position handles . Place one end of the handle on one side just over lapping the bottom of the cardstock band. Pierce through center of heart and attach with a brad,, repeat on the other side,
Gift Bag punch board Timeless elegance seed packet tutorial
 |
| Gift bag punch board Timeless Elegance Stake your Claim Seed packet |
Cardstock and Paper
7 by 7 inch piece of Timeless Elegance DSP
Scrap of very Vanilla cardstock
1 With pattern direction the right way up place into gift bag punch board, position edge on white line score along top and on the side mark, then align pointer with seam and punch. Score across top and on small mark. align score with pointer punch and score across top.
2 Turn to opposite edge and punch on all the score lines.
3 Trim off outer flaps top and bottom level with base of score line. Using aqua painter colour background with a very very light wash of Watermelon Wonder, Then colour flowers with a darker wash leaves with light Cucumber crush, and small flowers with Delightul dijon, Centre of flowers with a mix of Watermelon wonder and Delightful dijon,
4 Now depending on your preference you can have No seam on front of envelope a center seam or a side seam. Fold short side in and then make a mark where you want seam and trim off, place tape along right side of small flap and on the back of trimmed flap, remove tape fold small flap in and then adhere trimmed flap over the top. (If you want to use this as a gift card holder squeeze the edges of the envelope and insert 1/2 inch punch into the top gap ( with punch bottom visible to you center on the envelope and punch half a circle. , Now adhere bottom flap.
5 With Watermelon wonder pen colour stamp going across the top of stake and down the stem of the stake, You want to get it thicker in some places and thinner in others ( to look like wood) If using ink pad, ink and then drag Aqua painter gently across top and down bottom Stamp on very vanilla. If you do not have framlits or if you don't want an edge on your stakes tamp another stake. (I didn't want the edge on this project)
6 Cut out both with scissors or the stamped one and a plain one with your bigshot machine and framlits, adhere together tie a piece of Whisper white baker's twine around stake and make a tiny bow. Trim ends, Then close flap on envelope position your stake over flap at an angle and so about half of it in total covers the flap make a tiny pencil mark on each edge where flap meets the stake, turn over and place two way glue pen adhesive to just below those marks, You do not want any to get above those marks
7 Adhere the stake in position.
So tommorow I will be showing you two more Gift bag punch board ideas, which will be part of my Gift bag punch board class in the post kit
Byeeee for now